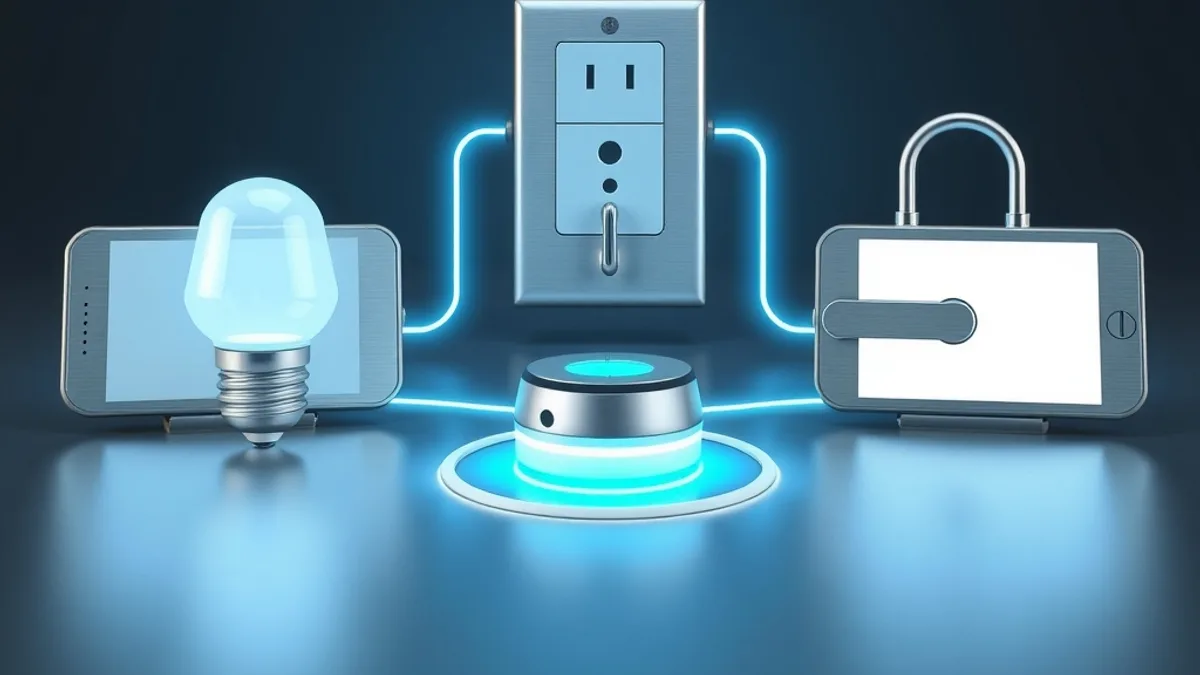
Setting up a Wi-Fi smart bulb takes a few minutes and no tools: screw the bulb into a socket, open the maker’s app, connect the bulb to your home’s 2.4 GHz network and, if you want voice control, link it to Alexa or Google Home. This guide walks through each step and what to do when something won’t connect.
What you need before you start
Gather four things before touching the fixture:
- A Wi-Fi bulb that fits your socket. Check the base type and the fixture’s voltage. Wi-Fi and Bluetooth bulbs generally do not need a hub, the extra box some smart systems require.
- The manufacturer’s app. It is named on the box or in the guide. Examples Asurion lists are TP-Link Tapo, Philips WiZ and GE Cync.
- A 2.4 GHz Wi-Fi network. Smart bulbs typically work only on that band. You can keep your 5 GHz network running, but your phone and the bulb need to be on 2.4 GHz during setup.
- A phone with Bluetooth on, close to both the bulb and your router.
Optionally, you can add Alexa or Google Home for voice commands.
Step by step: install the bulb and join your network
Exact screens vary by brand. The sequence below follows Tapo’s setup flow, with Asurion’s general advice mixed in:
- Turn off the wall switch for safety and screw the bulb in firmly. Turn the power back on.
- Download the app and sign in or create an account. For Tapo, that is a TP-Link ID.
- Tap the + button or “Add Device” and choose “Light Bulb” or the lighting category, then your model.
- Wait for the bulb to blink. Tapo says it blinks three times. Stay close the whole time. If it does not blink, switch it off and on as the app instructs to enter pairing mode.
- Let the app find the bulb over Bluetooth. Some models instead ask you to join the bulb’s own temporary Wi-Fi network in your phone settings before returning to the app.
- Pick your 2.4 GHz network and enter the password.
- Name the bulb and assign a room, such as “Living room lamp.” This matters later when you talk to a voice assistant.
- Update the firmware, the bulb’s built-in software, if the app offers a new version.
From here you can control the bulb from the app, at home or away, and adjust brightness, color and schedules.
How to link it to Alexa
Alexa can only control the bulb once it works in the brand’s app. For Tapo bulbs, TP-Link describes two routes:
From the Tapo app: go to Me, then Third-Party Services, then Amazon Alexa. Tap Tapo Skill and follow the prompts until the app confirms the link. It opens the Alexa app, where you enable the skill, and the device connects automatically.
From the Alexa app: tap More, then Skills & Games, search for “Tapo” (or your brand), tap Enable to Use, sign in to your manufacturer account and authorize. Alexa discovers the bulb on its own. Asurion’s general version of this is to add the brand’s skill, then find the bulb under Discover Devices.
If your bulb supports Matter, the standard that lets devices from different brands work together, it can connect to Alexa without a skill. Our explainer on the Matter standard covers the difference. If Alexa is new in your home, start with our guide to setting up Alexa on an Echo Dot.
How to link it to Google Home
It is a similar path. With the bulb already online in the brand’s app, open Tapo, go to Me, Third-Party Services, Google Assistant, and tap to link from Google Home. Google Home opens, you tap Agree & Link, then assign the bulb to a home and a room.
From the Google Home side, tap Add, choose “Works with Google Home,” search for the brand (for example Tapo) and follow the link prompts.
Voice commands and useful routines
Once linked, try “Alexa, turn on the living room light” or “Hey Google, turn off the bedroom light.” If several bulbs share a room, give them more specific names. Asurion suggests naming them by room and testing with a command like turning off the kitchen lights. Note that if you rename the bulb in the app later, you have to ask the assistant to discover devices again, or it keeps using the old name.
Then come the uses that justify the purchase: schedules that turn lights on at dusk, reading or movie scenes, and routines that switch lights when you leave. Our guide on what Alexa can do has routine ideas.
What to do when the bulb won’t connect
- Confirm 2.4 GHz. This is the most common cause. Both your phone and the bulb need to be on it during setup.
- Move closer to the router. A weak signal can break pairing.
- Power-cycle the bulb. Switch it off and on as the app directs to return to pairing mode.
- Try another socket and restart your router.
- Update the app, and if nothing works, factory reset the bulb following the manufacturer’s instructions.
Frequently asked questions
Do I need a hub for a Wi-Fi bulb?
No. Wi-Fi and Bluetooth bulbs generally work without one, but check your model’s requirements on the box.
Does a smart bulb work without internet?
Remote and voice control rely on a connection. What happens offline differs by model, so check your brand’s manual.
Can I use the same bulb with Alexa and Google Home?
Yes, if the brand supports both. For Matter bulbs, TP-Link says the original pairing code works in only one app, and you generate a new code from that app to add the bulb to another.
Will smart bulbs lower my electric bill?
Automation, such as switching lights off when you leave, can cut usage, but none of the sources we used gives a savings figure. Treat it as an estimate, not a guarantee.